
KanBo and Microsoft Power Automate Integration: Activation
Table of Contents
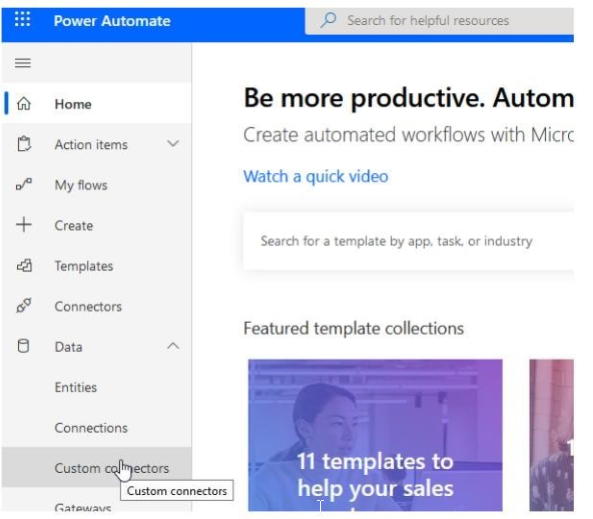
- Go to this adress.
- Select Data and Custom Connectors.
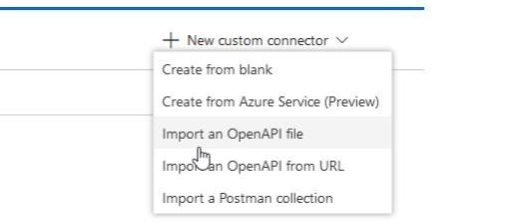
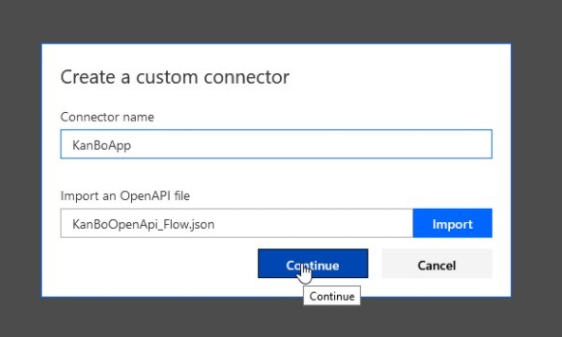
- Add new custom connector.

- Select import from OpenApi file.
- In your Custom Connector -> General, do the following:
- Upload a logo
- Select icon background color, should be #ffffff
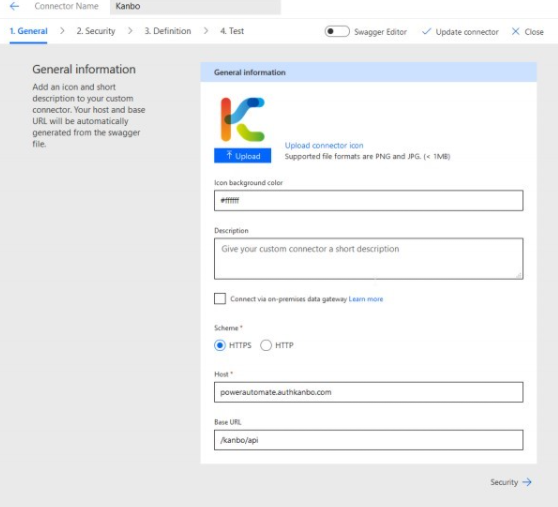
- Go to Security tab.
- Contact support@kanboapp.com for details to be pasted there.
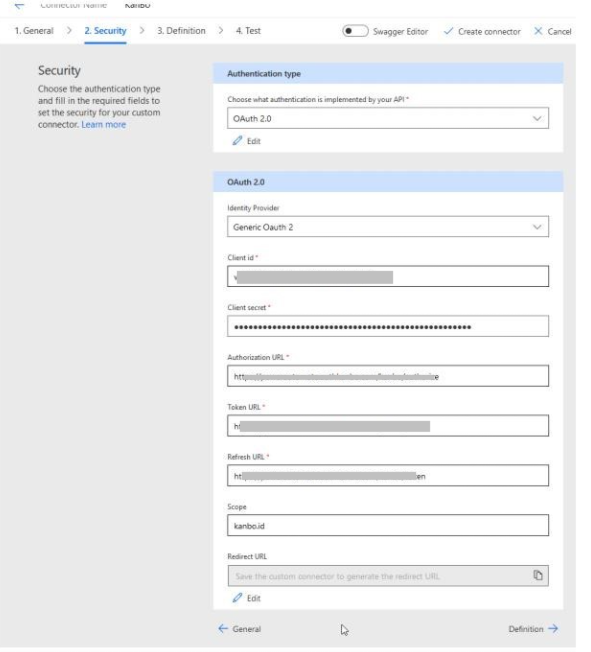
- Save the custom connector.
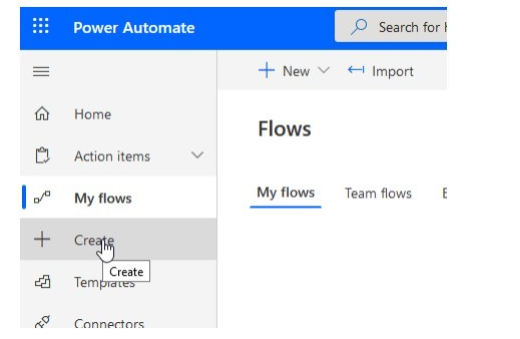
- Now you can go to My Flows.
- Create a Flow:
a)
- b)

- c)
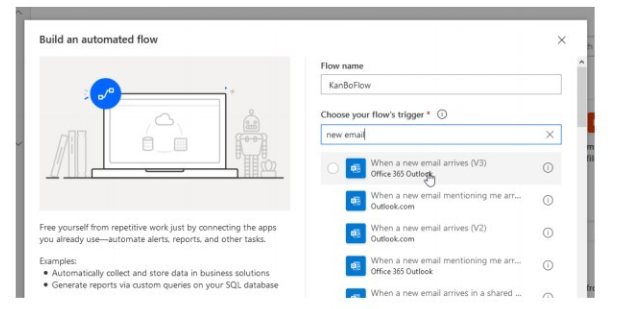
Here you must select a trigger which will enable your flow. In case of “when a new email arrives” the flow will start only when you receive a new email. Create the flow.
- d)
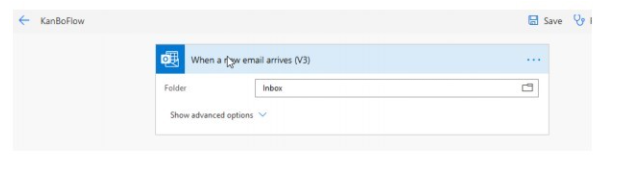
In Flow, make sure to configure the trigger accordingly to your needs.
- Create a new step and select KanBo.
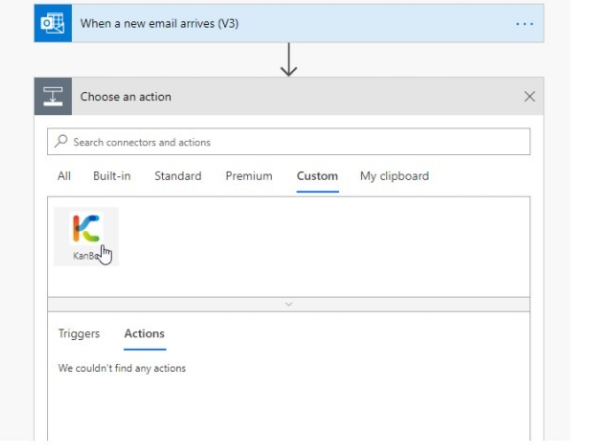
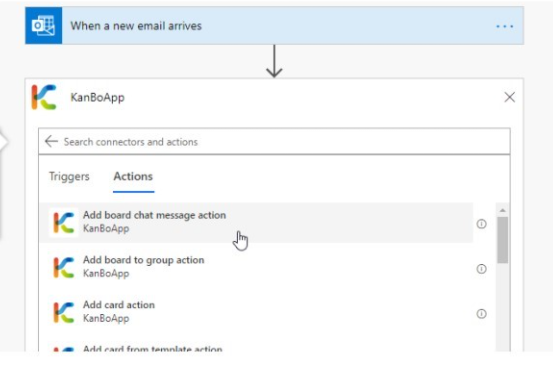
- Now select an action.
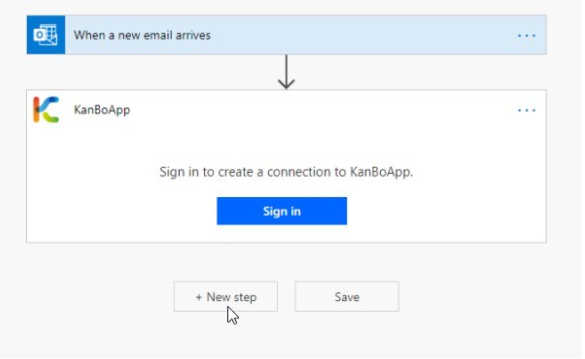
- In action, select Sign in.
- Authorize your KanBo by typing its address and selecting OK. Use address without https like kanbo.mydomain.com.
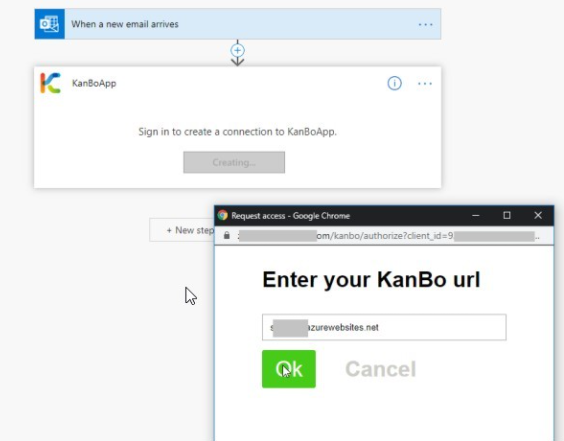
- Select Allow during authorization procedure.
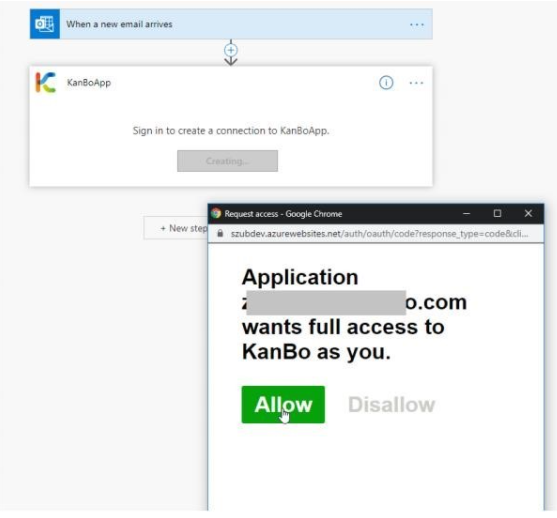
When a connection is made, you can start running actions - see more here.