
Customize KanBo Background Images and KanBo Colors
Where to start?
The whole configuration will be done in the file: manifest.json. To access this file, go to the folder where Your
KanBo is installed, then go to bin/KanBo.Branding, the manifest will be there. Be aware that changing the contents
of the manifest.json file or the contents of the backgrounds folder will result in a reset of KanBo. Depending on
your installation size it might be not available between 5 – 60 seconds
Changing colors KanBo colors
Normally your manifest.json will already have 16 default colors. You can change the existing colors by modifying the
existing color values. You can also add new colors or reduce the number of colors by extending the section by new
values or removing values respectively.
You will identify the right section in the manifest by the name “colors”.
The color values are stored in quotation marks, are separated by commas, and are displayed in the same order as they
are listed everywhere in KanBo where colors can be picked.
Each color consists of hexadecimal RGB codes looking
like this: '#e50046' where the Red=e5, Green=00 and Blue=46. If you are not proficient with HTML color codes, you
can use this site
Remember to not have multiple commas right beside each other, nor have commas missing between
two color entries, and to not put a comma after the last color entry before the “]”.
The maximum amount of colors
you can have in KanBo is 256.
Adding/removing or changing background images of a KanBo Board
Each Board Background consists of a set of Images used by KanBo for several purposes inside of the application. You
can add your own sets with images, remove or change the existing sets as you want. First, we need to understand the
structure of a Background Image set. Here is an example:
Id – identification number of a background image. Defines the order in which the images are displayed (from the smallest id to the biggest).{
"id": "01",
"images": [
{
"Type": "background4k",
"Url": "backgrounds/01-Background-3840x2160-px.webp"
},
{
"Type": "cardCover",
"Url": "backgrounds/01-Card_Cover-480x320-px.webp"
},
{
"Type": "favicon180",
"Url": "backgrounds/01-Favicon-180-px.jpg"
},
{
"Type": "favicon64",
"Url": "backgrounds/01-Favicon-64-px.jpg"
},
{
"Type": "favicon32",
"Url": "backgrounds/01-Favicon-32-px.jpg"
}
],
"name": "01"
}
Images – a list in which the images used are specified
Type – specifies the purpose of the image. There are five types:
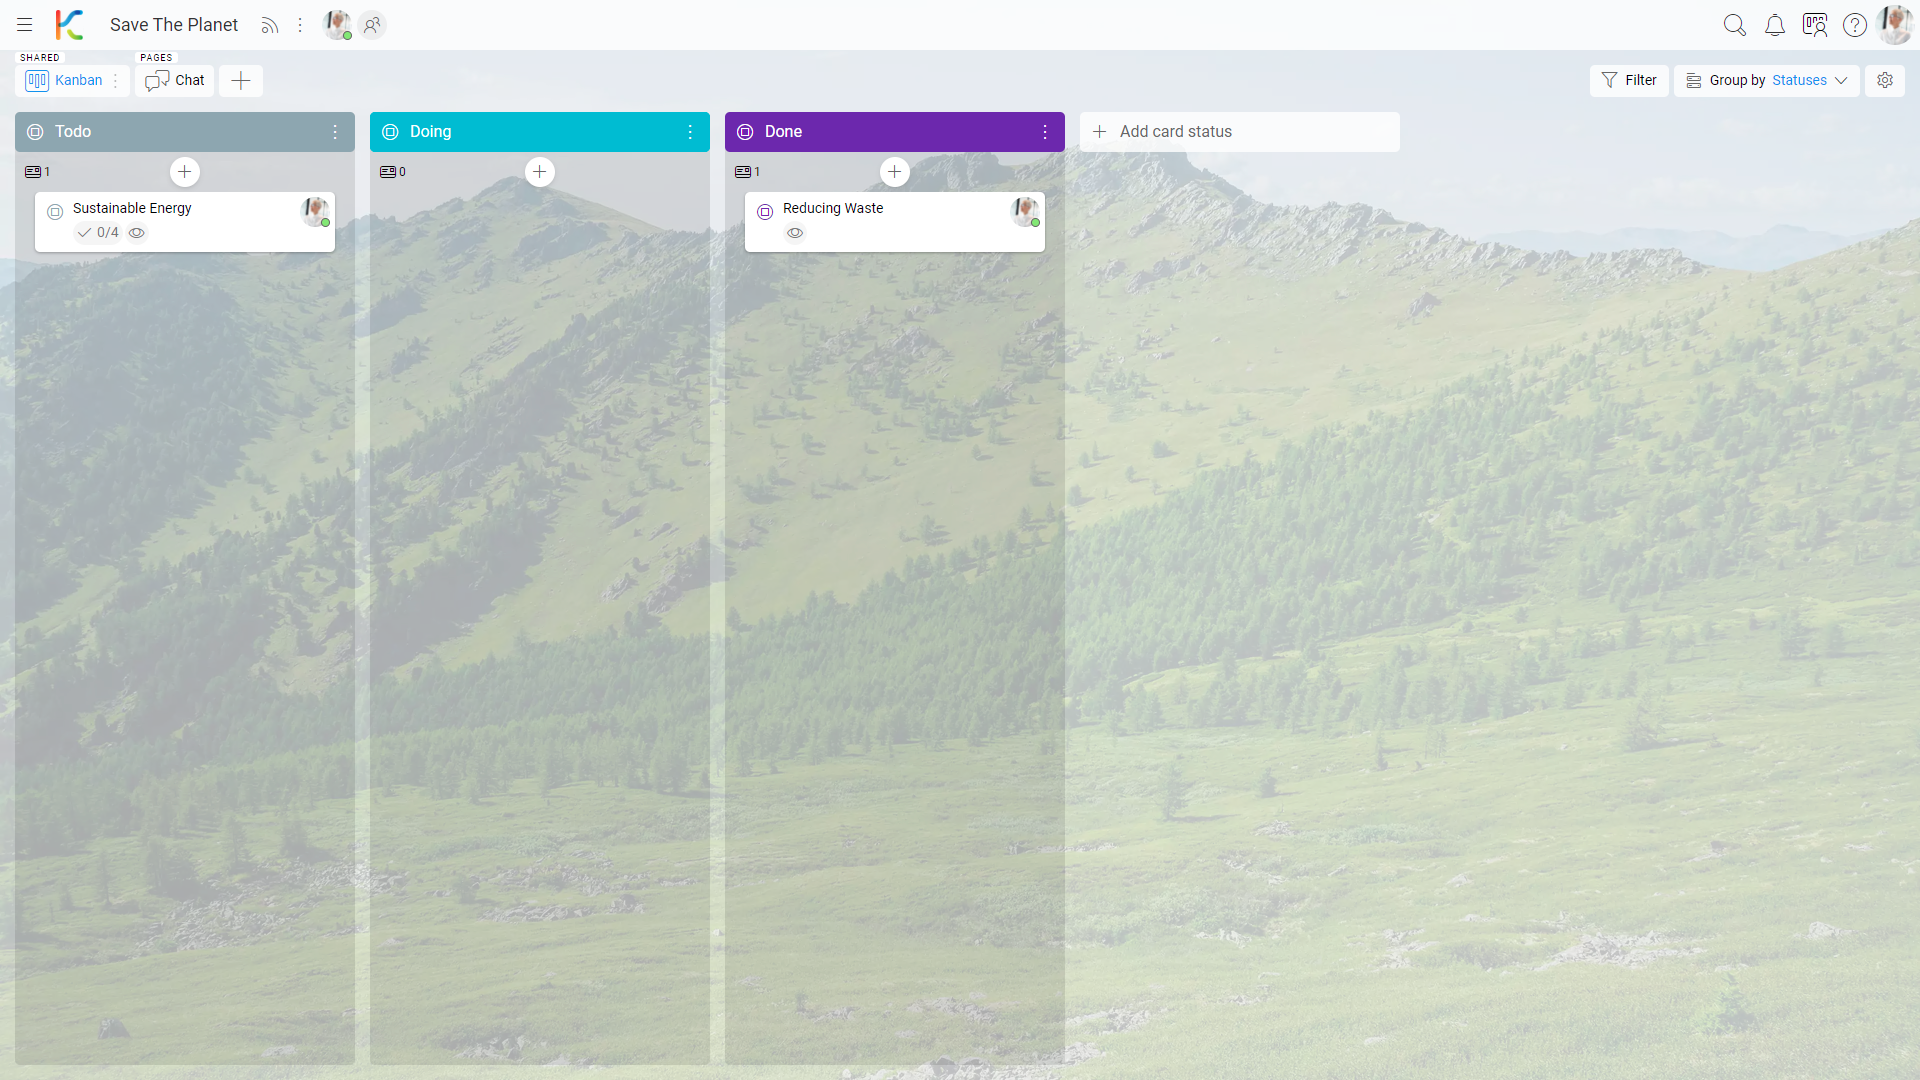
background4k – image that will be used as a background when you open the KanBo Board
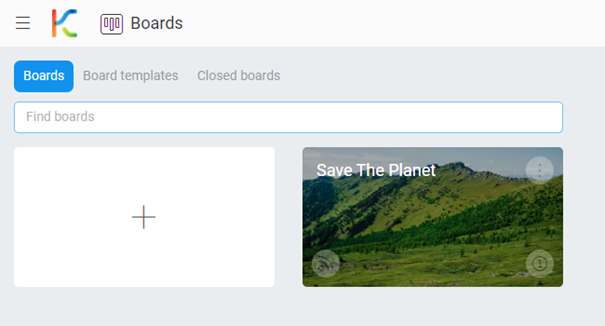
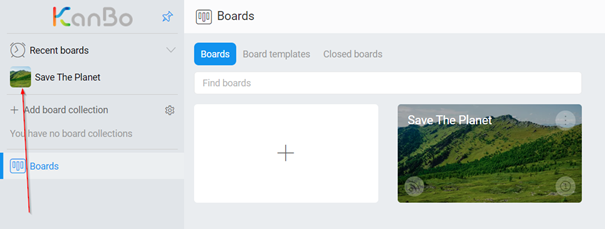
Favicon180, favicon64 and favicon32 – used at different places in KanBo when the board comes into the context
Url – the location of the image on the Server that servs the image files to the clients – in most
cases that is the Web Server (IIS)
name – the name of the background image. Used to identify the
image when you hover over it while picking the image.
Supported Image formats
The available image extensions you can use are *.jpg, *.jpeg, *.png, *.webp and *.svg (and we are planning to support
*.avif in the future). The recommended image format that has the best performance so far is *.webp,
as it is light and has great quality. Try NOT to use *.png files, as they are heavy and might take some time to
load.
Image resolution sizes
background4K – the image should have a very high resolution but should be well compressed (we
recommend max 500kB otherwise it might slow down your network). We recommend a resolution of 3840x2160 but you can
also go for higher resolutions.
cardCover – your image resized or cropped to the resolution of
exactly 480x320
favicons – your image resized or cropped to a square in three resolutions:
•
180x180
• 64x64
• 32x32
Advanced scenarios
It is up to you whether you will use the same motives on all images of a single set. You can i.e., use a gray image as the motive for the background4K and use real motives for the rest of the images in the set. If you continue that pattern for the rest of the sets you will have all boards with the same grey background, when you open them, but the Board Tiles and the recent Boards Favicons will have unique and colorful motives. Some users don’t like colorful backgrounds when they work with cards, but they like them when they look at Boards to distinguish them better.