
Creating a Linux Based Virtual Machine on Azure for Elastic Search
Table of Contents
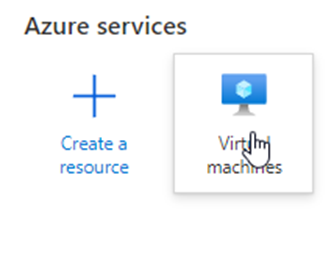
- Go to portal.azure.com.
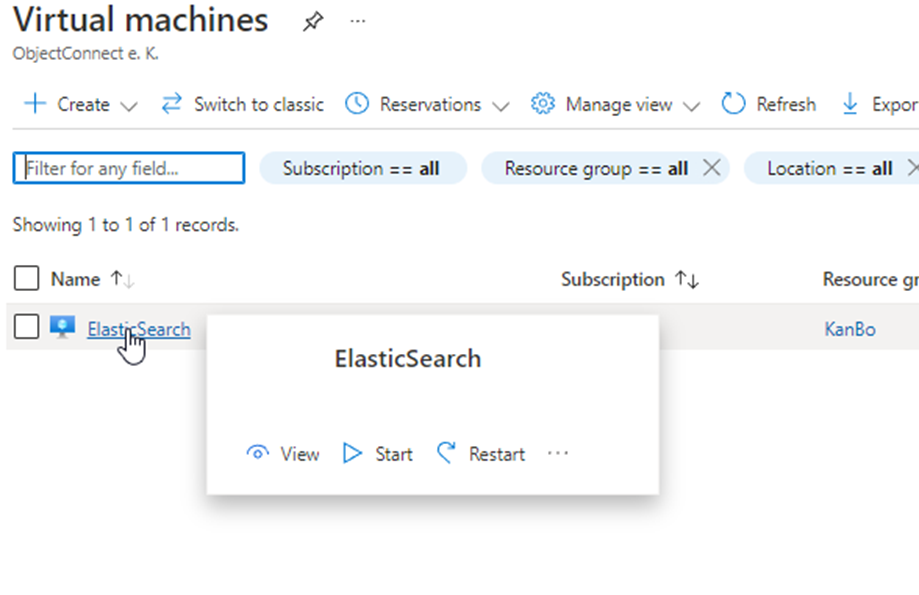
- Select “Virtual Machines”.
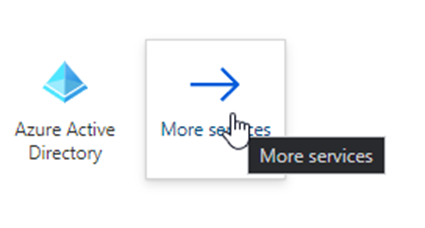
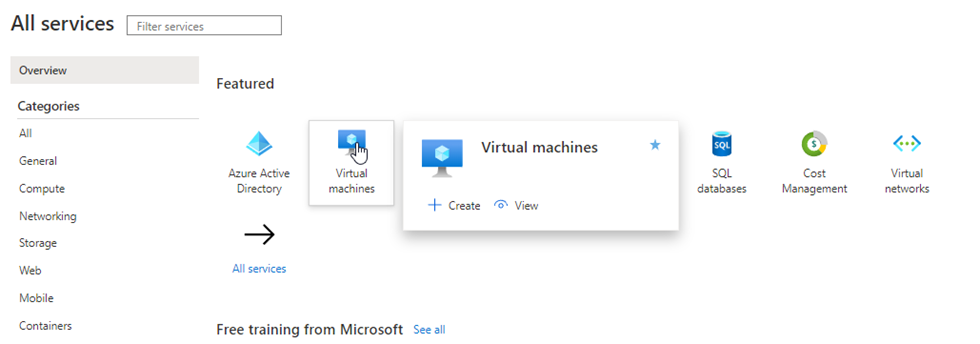
 If it’s not on Your main menu, You can find it under “More services”.
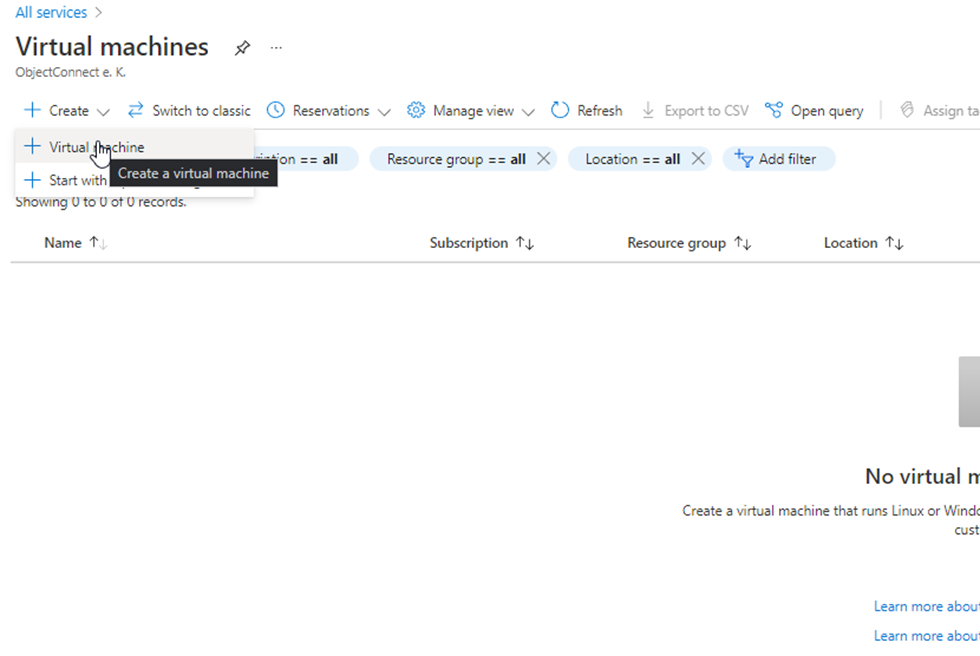
- Click on “Create” and “Virtual Machine”.
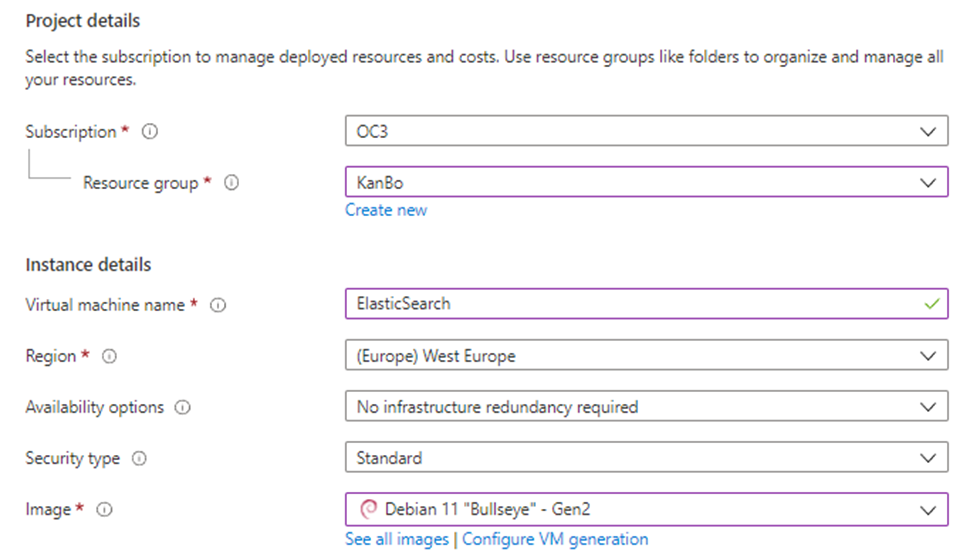
- Choose Your subscription, resource group, region and Operating System and name Your Virtual Machine.
- Choose the size of Your machine. A minimum of B2s is required. You can see the sizes by clicking “See all sizes”.

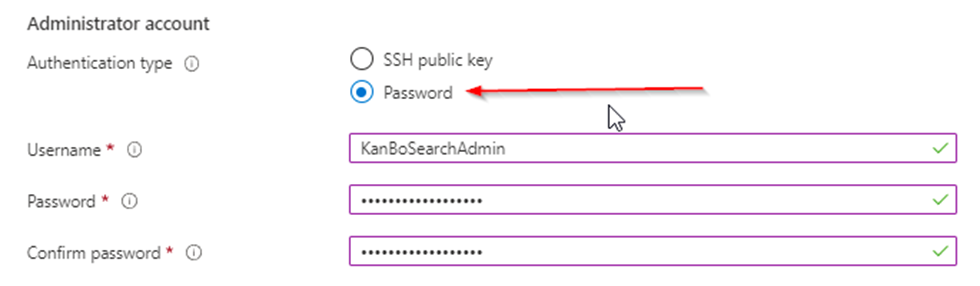
- Make sure you have the “Password” checkmark selected and type in the Username and Password for the admin account.
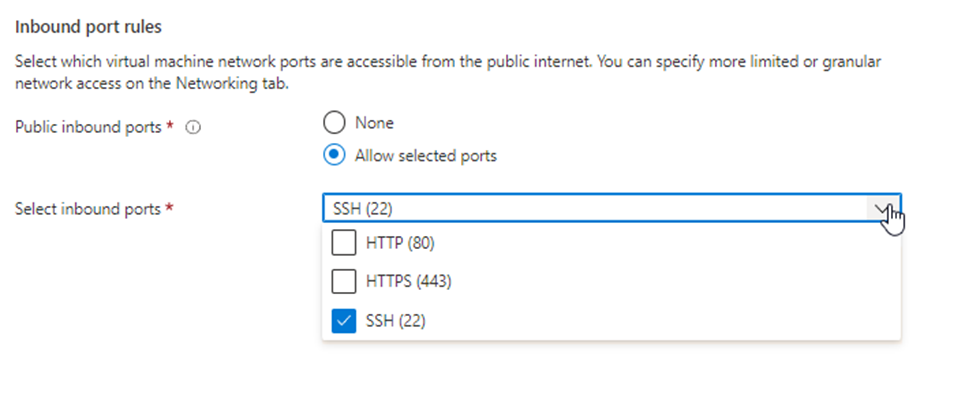
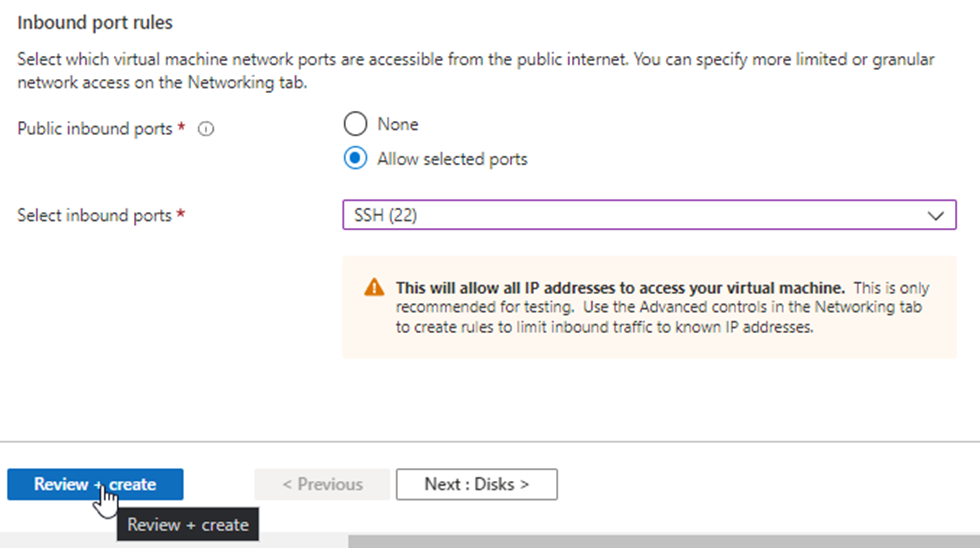
- Make sure You have the SSH (22) inbound port selected.
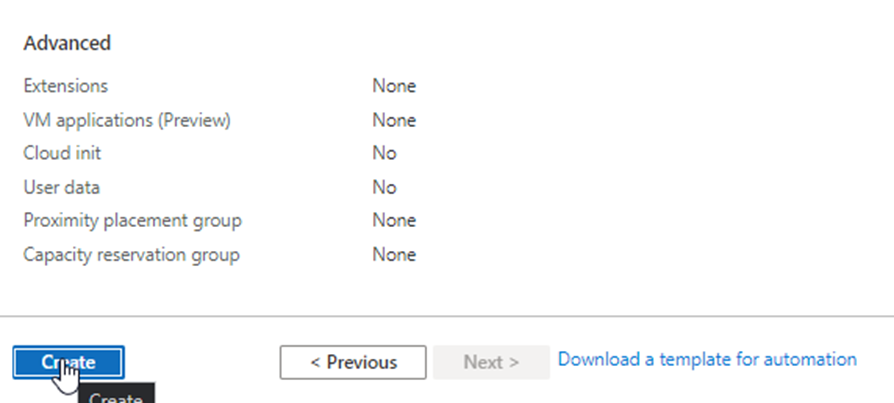
- Click “Review + create”.
- Click create.
Open the VM’s ports in Azure
After Your machine is created, additional inbound rules will have to be added in the networking section of Your VM.
- Go to Your VM.
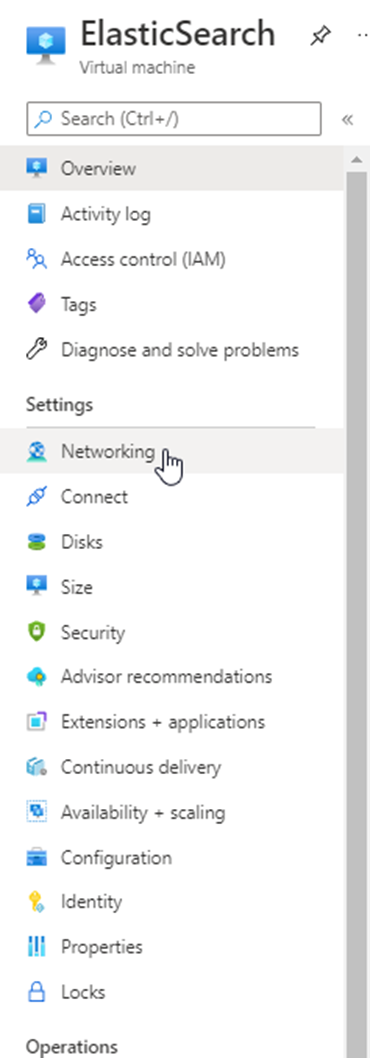
- Go to Networking.
- Click “Add inbound port rule”.
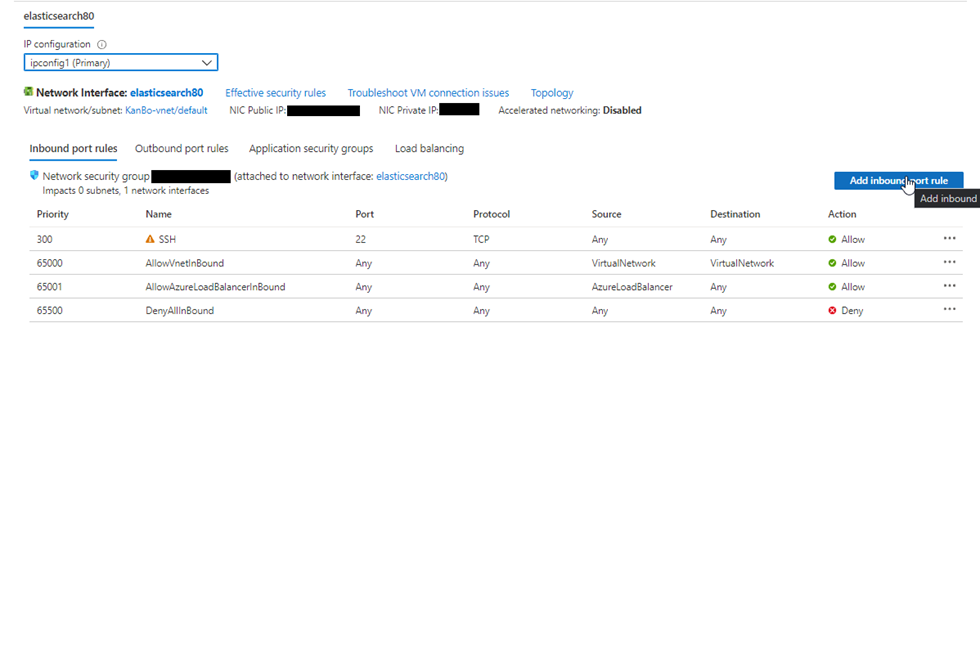
- To allow the port of Elastic Search to be accessed from the outside, change the “Destination port ranges” to 9200 and choose the TCP protocol. Name this rule “ElasticSearch”.
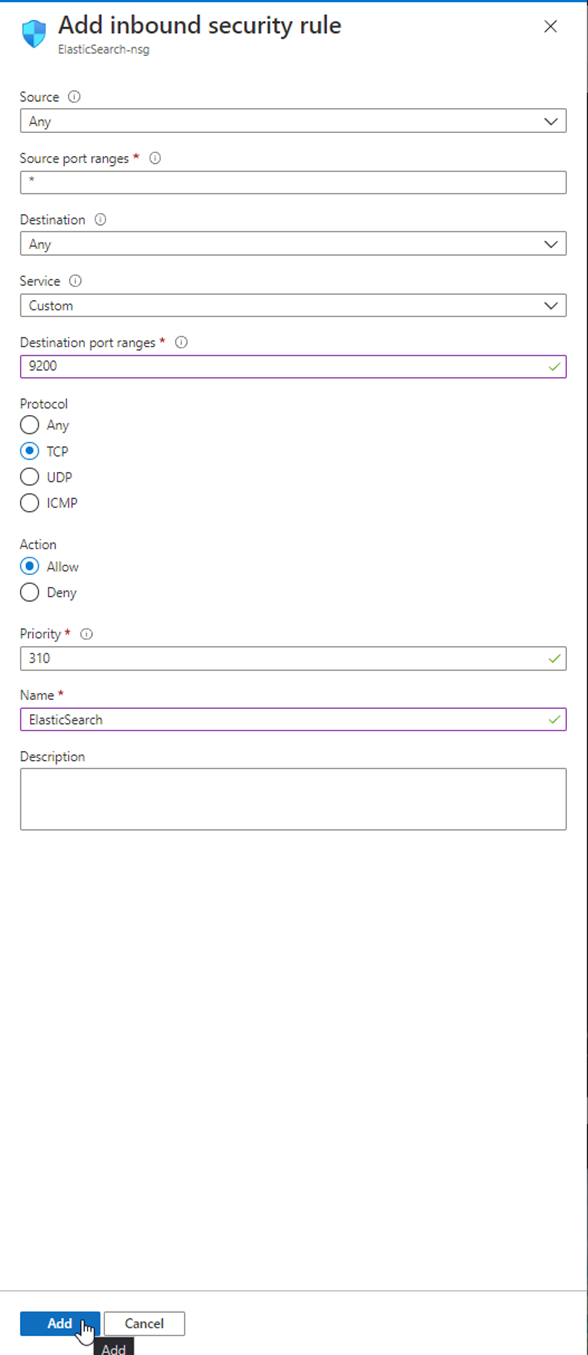
- Click “Add”.
- Follow the same with “Destination port ranges” of 5601 and with priority of 315 and the name “Kibana”. This is a graphical interface that will have to be accessed from the outside, as the Linux VM lacks a graphical interface.
Connect to a Linux VM
To connect to a Linux VM You need to connect via SHH. To connect via SSH with PowerShell:
- Run PowerShell.
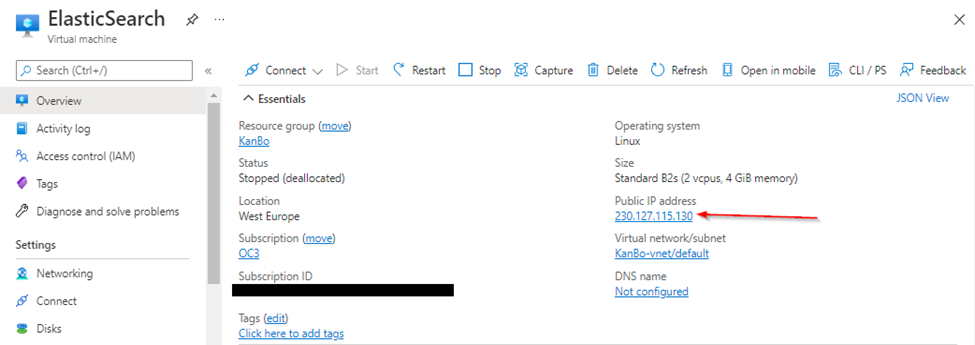
Example: ssh KanBo@230.127.115.130 -p 22
- After You run the command You will be asked about continuing the connection. Type in “yes” and press enter.
- You will then be prompted to type in Your password (You won’t be shown what You are typing). Use the password from the same step as the username.
- After typing in the password, press enter.
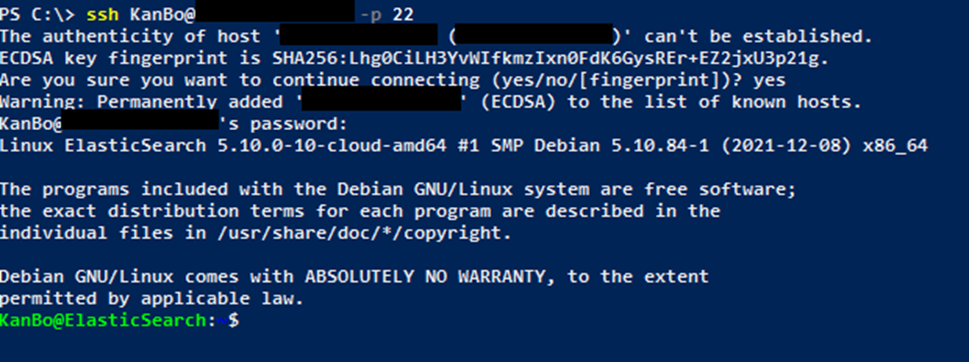
And You are now connected to the ElasticSearch VM, and can start Installing and configuring Elastic Search for KanBo.