
Creating a Windows Virtual Machine on Azure for Elastic Search
Table of Contents
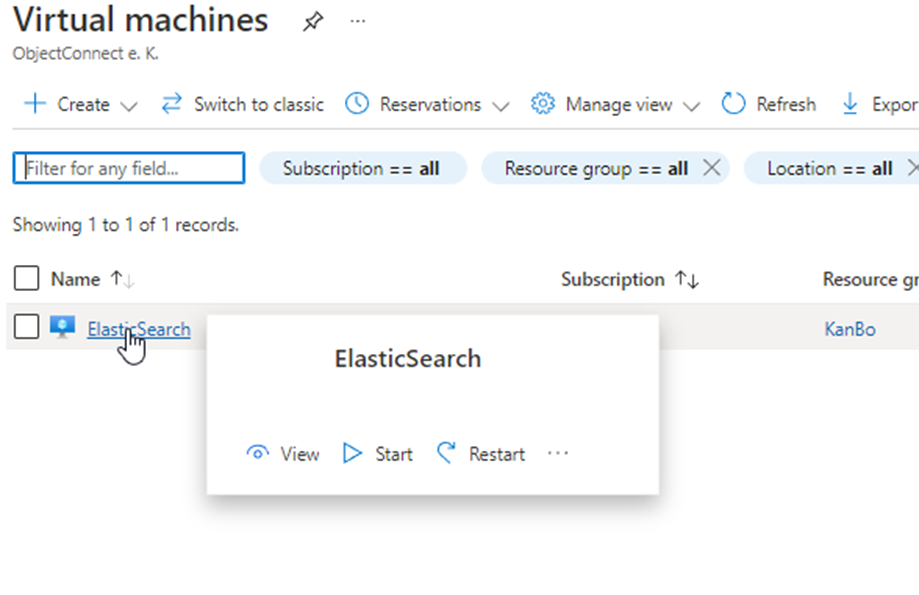
- Go to portal.azure.com.
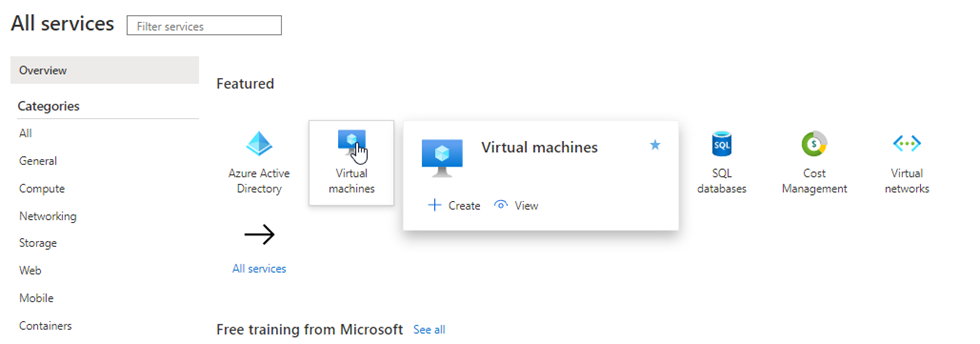
- Select “Virtual Machines”.
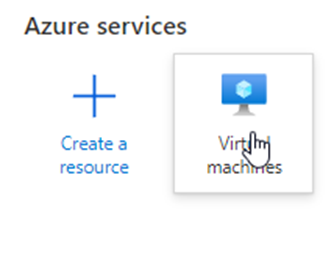
If it’s not on Your main menu, You can find it under “More services”.

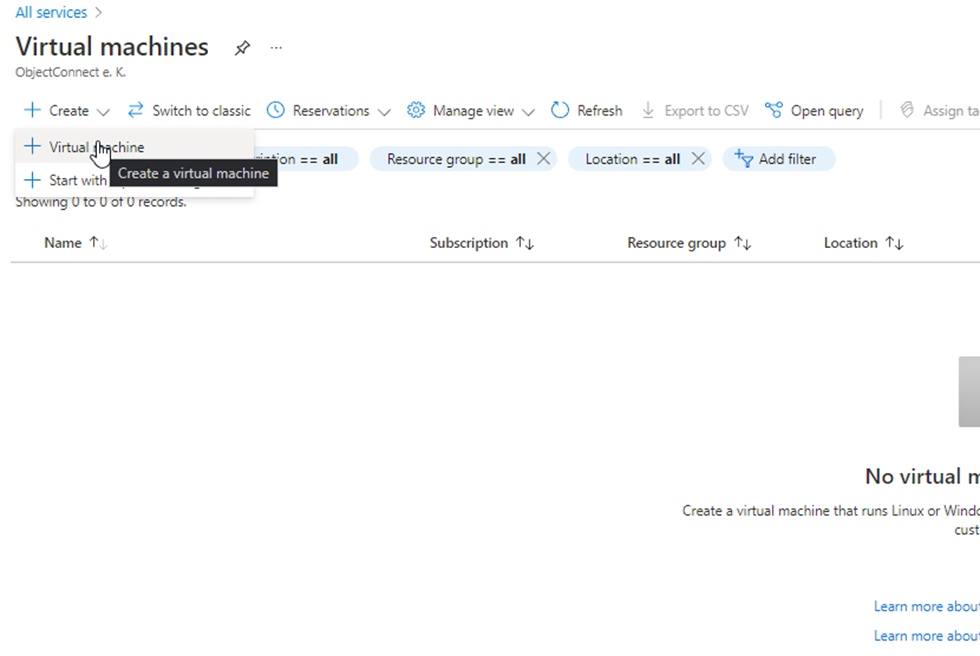
- Click on “Create” and select “Virtual Machine”.
- Choose Your subscription, resource group, region and Operating System and name Your Virtual Machine.
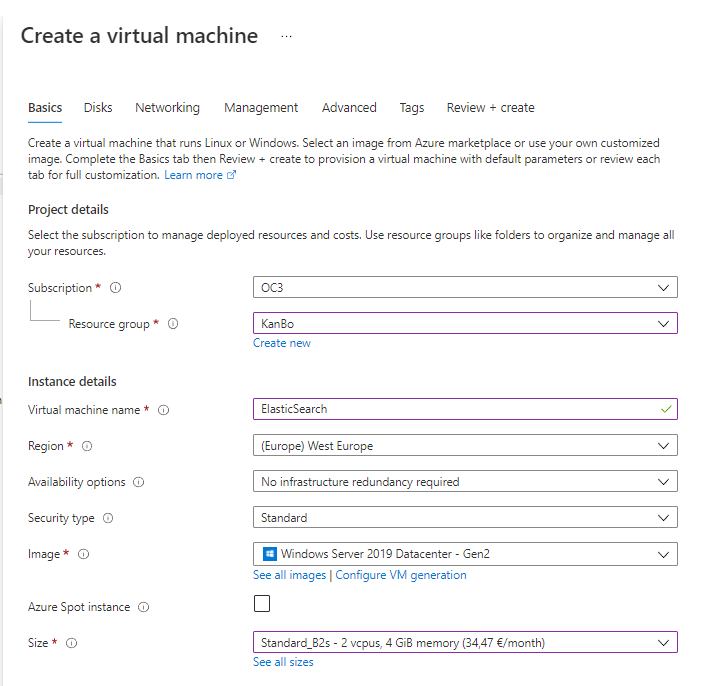
- Choose the size of Your machine.

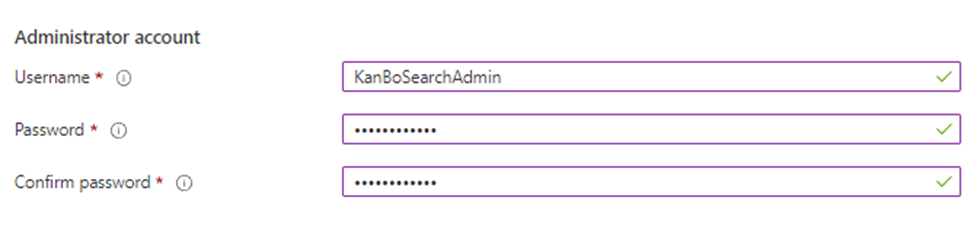
- Type in the Username and Password for the admin account.
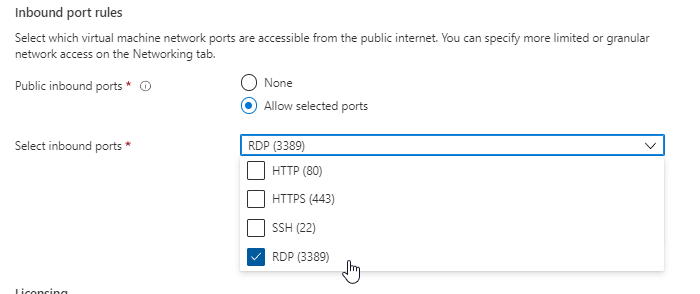
- Make sure you have RDP (3389) port selected.
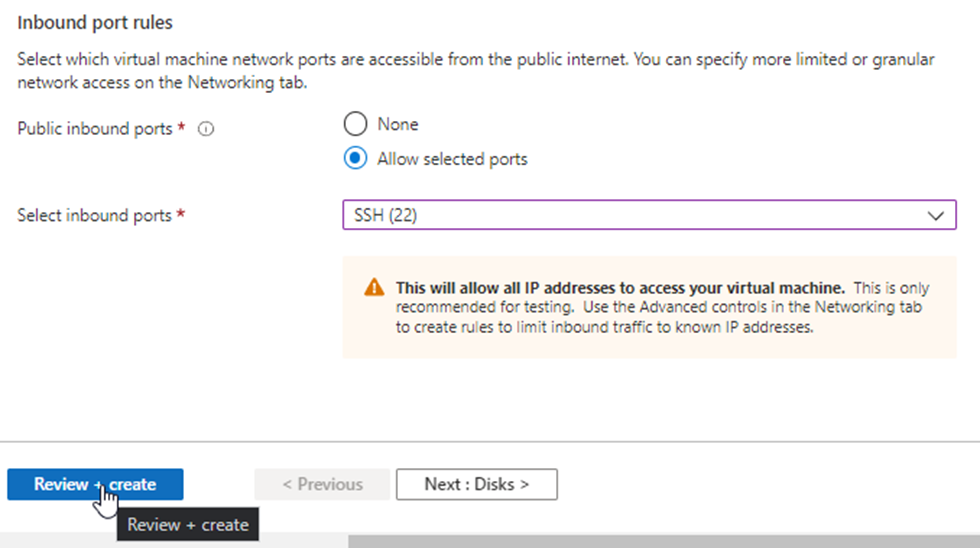
- Click “Review + create”.
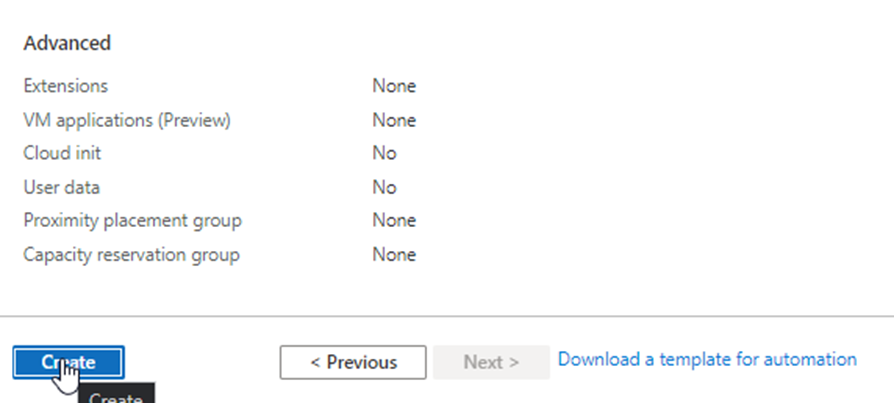
- Click "Create".
Open the VM’s ports in Azure
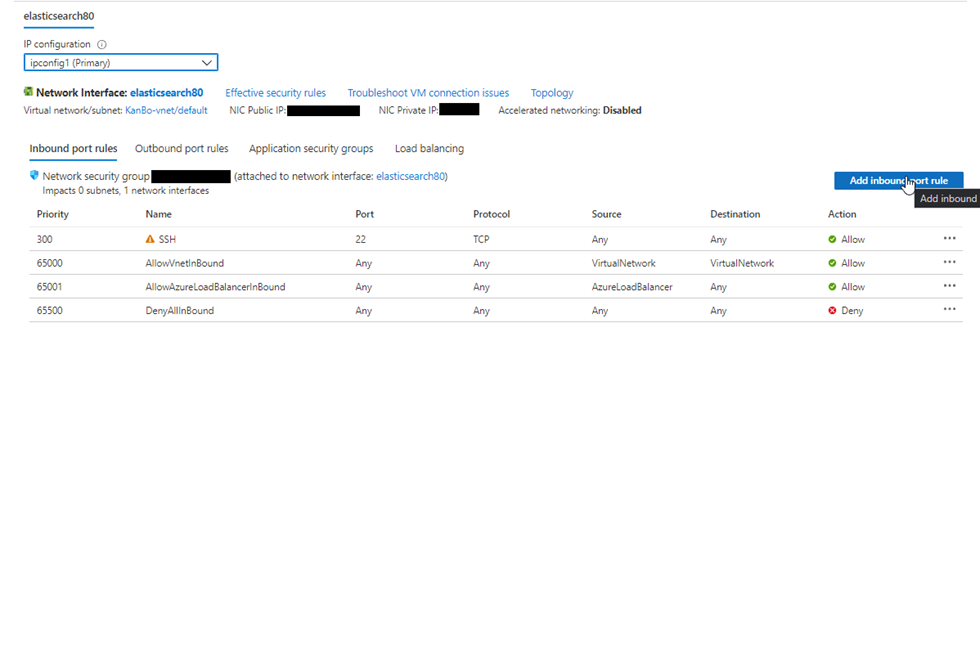
After Your machine is created, additional inbound rules will have to be added in the networking section of Your VM.
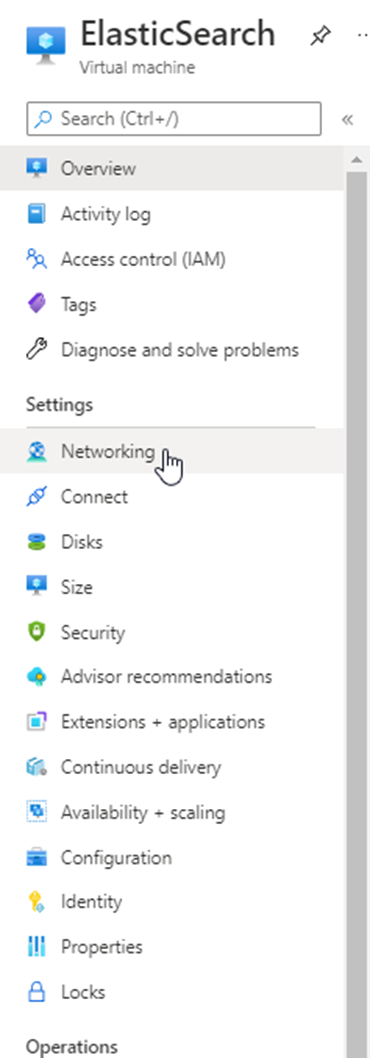
- Go to Your VM.
- Go to Networking.
- Click “Add inbound port rule”.
- To allow the port of Elastic Search to be accessed from the outside, change the “Destination port ranges” to 9200 and choose the TCP protocol. Name this rule “ElasticSearch”.
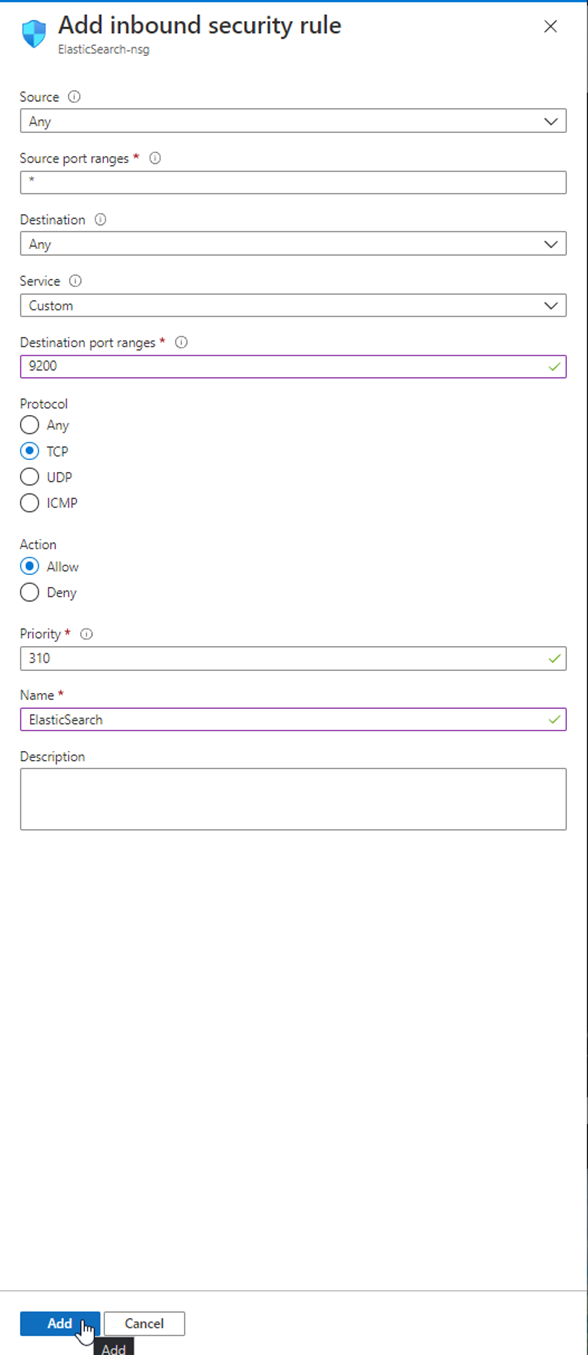
- After that is done, click “Add”.
Connect to Windows VM
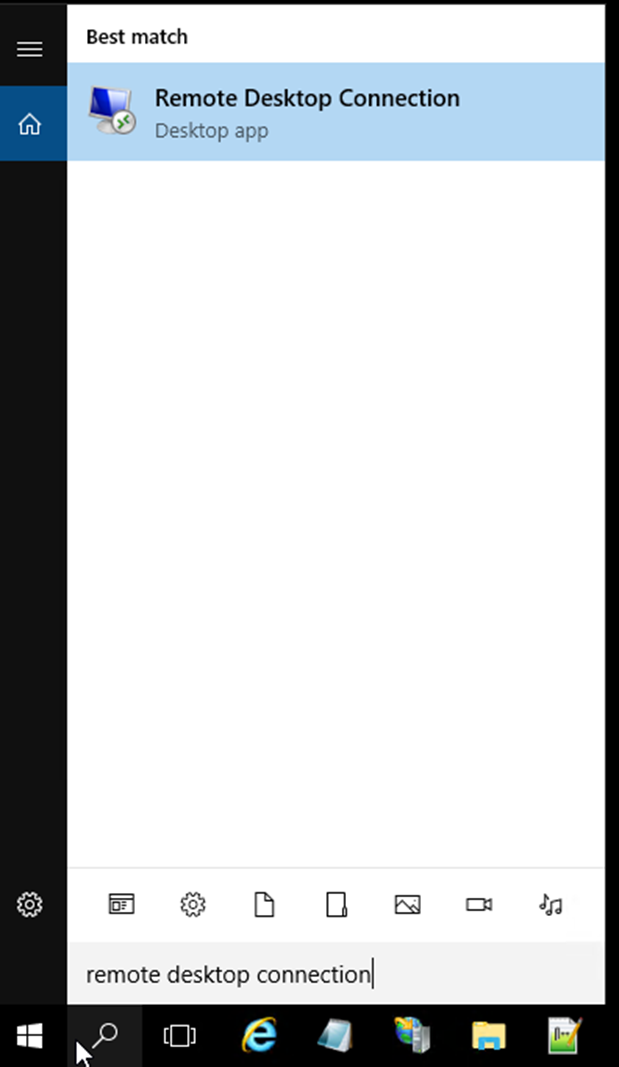
- Open “Remote Desktop Connection”.
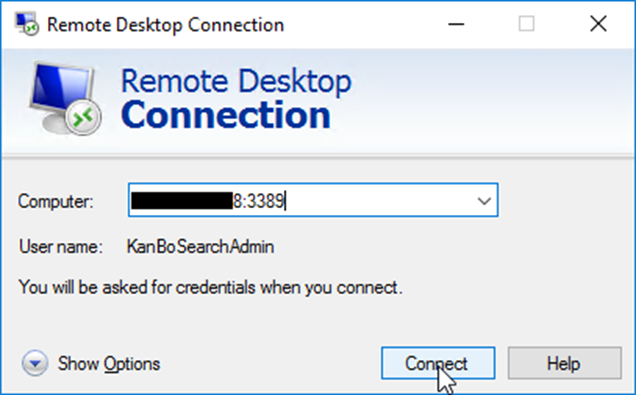
- In “Computer”, type the IP of Your Azure VM preceded by “:3389” (for example 230.127.115.130:3389).
- Click “Connect”.
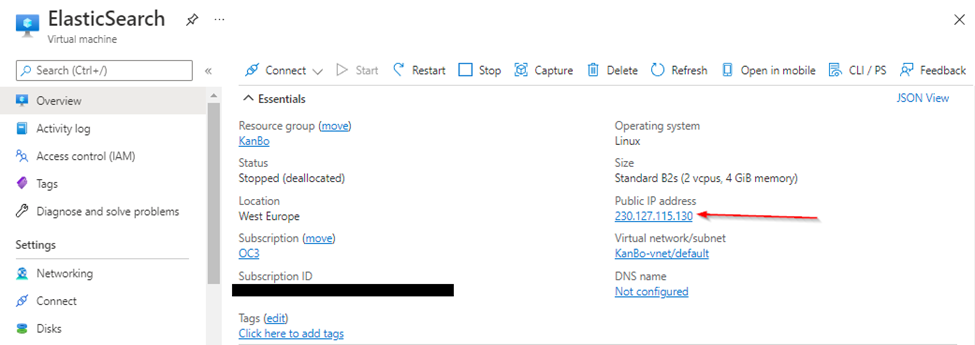
- The IP of Your Azure VM can be found here:
- Type in Your Username and Password of the user You created in “Configuring a VM on Azure for Elastic Search” and click ok.
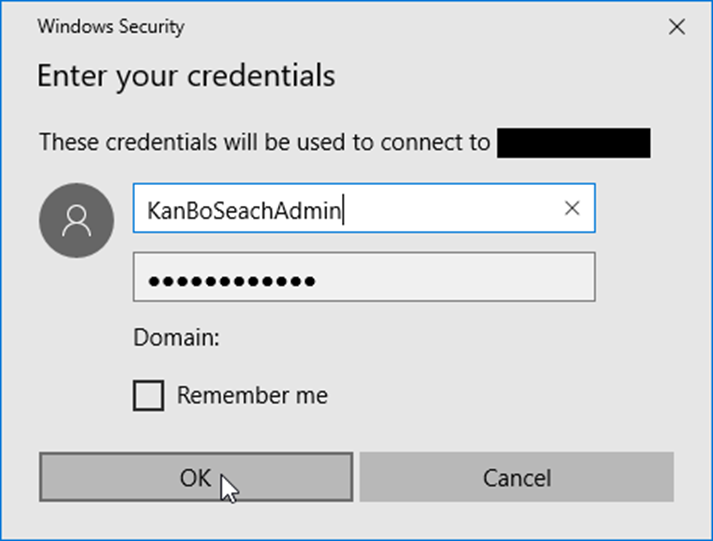
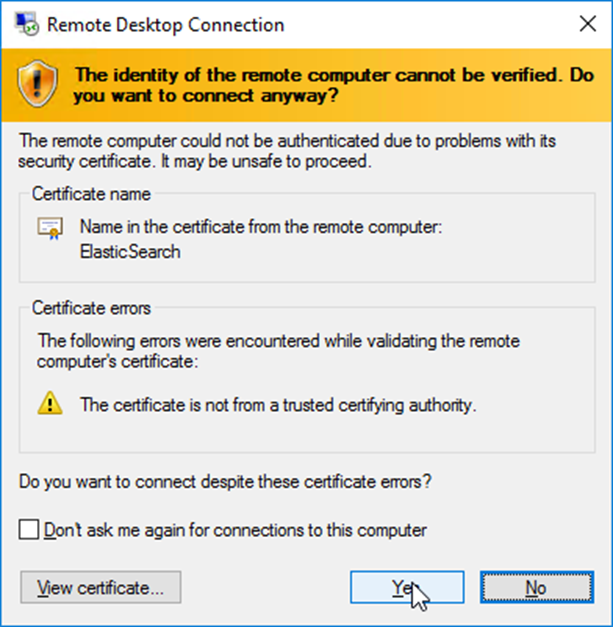
- Agree to the certificate.
- You are now connected to the VM.